
 Last year, about this time, I mentioned these cookies with a post for Kifli. The kifli are very good cookies but if you want a cookie that everyone will love this Holiday, then you must make these!
As I mentioned before, we don't really have a name for these. My mother in law, Lilian, shared the recipes with me and showed me how to make them many years ago and they've been our family's all time favorite cookie..really..all time favorite! She jotted down the recipe on a piece of scrap paper, which I've kept all this time. And this was a recipe her mother made, and probably her mother.
What's unusual is that the filling is just walnuts and white raisins with a little lemon juice and egg white. And the only sugar used is in the dusting of powdered sugar so they're certainly not too sweet. The pastry dough is also just a few ingredients, butter, cream cheese and flour. I've never seen a cookie like this anywhere, especially not with this filling.
 They're not rugelach and they're not kifli. But what they are is a light flaky dough wrapped around a mildly tart, slightly crunchy, not too sweet little morsel, sprinkled with powdered sugar, that you can't stop eating! Really.
Now, they are pretty time consuming to make, so you'll probably want to keep them all for your family..but share. If only just a few!
 You'll need to separate an egg, saving the yolk to brush the tops of the cookies just before baking.
 Make the dough the night before and wrap in plastic and refridgerate.
 Then take it out of the fridge and cut into 4 pieces to make rolling out easier.
(Oh, BTW, see that red plastic wrap? I bought it by mistake, not realizing it was red but I love using it. It's not as sticky as the clear wrap, making it so much easier to work with. Just thought I'd share that little bit of info!).
 Working with one piece of dough at a time, roll out each piece as thinly as possible.
I even cut this piece in half again and roll more to get it very thin.
Then cut into tirangles, but not too big. We make these cookies kind of on the small size, about 2 1/2" long.
 See how thin the dough is? It's about 1/16th of an inch thick.
 Place a scant teaspoonful of filling into the triangle...
 And begin by folding the two outer ends over the filling first...
 Then fold over the bottom...( this folding procedure is the same way I was taught by Lil to make stuffed cabbage.) Must be a Hungarian thing!
 Anyway, then keep rolling and press the tip down onto the dough to secure.
Place onto an ungreased baking sheet, once you have them all made, spacing them about 2" apart.
 This just shows how important it is to get the dough really thin because sometimes I even roll each triangle again to get it really thin ( but I've been known to get a little obsessive about this!)
 Brush the tops with the egg yolk and bake them til they're golden, about 15 to 20 minutes.
 Then, while they're still hot, roll them in powdered sugar all over.
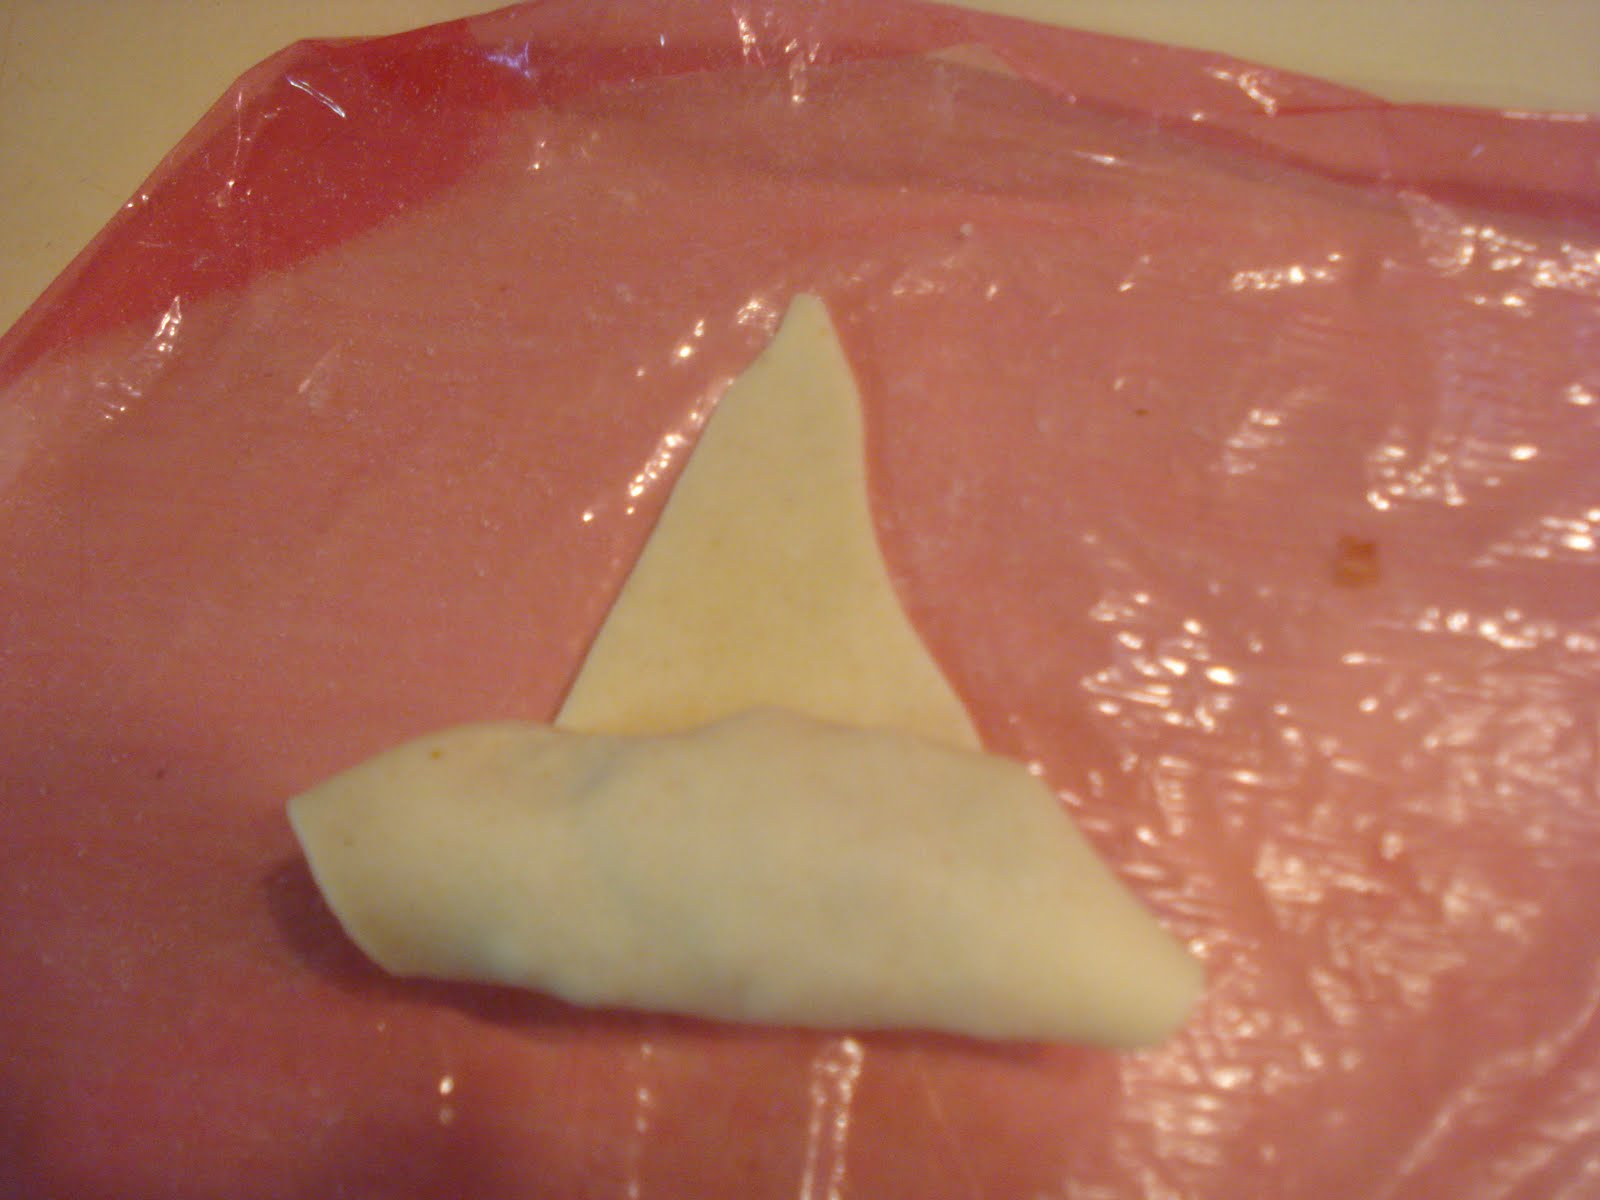 This just shows how important it is to get the dough really thin because sometimes I even roll each triangle again to get it really thin ( but I've been known to get a little obsessive about this!)
 Brush the tops with the egg yolk and bake them til they're golden, about 15 to 20 minutes.
See how one of the tips wants to pop up. That's why you need to press it down so it stays in place while baking.
 Then, while they're still hot, roll them in powdered sugar all over.
Then place on a wire rack to cool.
 Lil's Hungarian Nut Cookies
Makes approx. 4 dozen cookies ( depending on the size you make them)
(The recipe below is written almost exactly as Lil wrote it on the scrap of paper.)
 Lil's Hungarian Nut Cookies
Makes approx. 4 dozen cookies ( depending on the size you make them)
(The recipe below is written almost exactly as Lil wrote it on the scrap of paper.)
8 oz. sweet butter ( softened)
8 oz. cream cheese ( softened)
2 cups AP flour
Mix above ingredients-shape into a ball, wrap in waxed paper ( I use plastic wrap) and refridgerate overnight.
Filling:
1/2 lb. walnuts
1/2 lb. white raisins
1/2 lb. white raisins
1 egg white ( save the yolk to brush on top of the cookies)
A little lemon juice ( about 1 tsp.)
Preheat oven to 350. ( Lil's recipe said bake in a moderate oven).
1. Grind walnuts and raisins and mix with the egg white and lemon juice. ( I don't have a grinder, although when my oldest son was a baby, I used to use his babyfood grinder. LOL!) Anyway, just chop very finely.
2. Cut sections of dough and roll out til thin, then cut into triangles, about 2 1/2" at the bottom by 4 1/2" high. ( Refer to my photos and comments above).
3. Fill scant tespoonfuls of dough onto each triangle and roll up, again referring to my photos above.
4. Brush tops with egg yolk and bake til golden brown, about 15 to 20 minutes.
5. Sprinkle or roll each very warm cookie in powdered sugar and set on a wire rack to cool.
6. Store cookies in an air tight container or cookie tin. These are best when eaten within a day or two ( which should be no problem!)
Note: The dough ( rolled out slightly) as well as the unbaked cookies, can be frozen. Just wrap well and place in a zip lock bag. Thaw the dough, then roll out more. I would thaw the cookies a little before baking but you may need to add some extra baking time.


