This is for anyone and everyone out there who has a fear of making pie crust. And even for those who have advanced skills in pie crust making...this crust is amazing!
I read about it here a while back and kind of forgot about it. But then the other day, I got to thinking about my delicious lemon curd and decided to put it into a tart.
Making a dough from hot butter, rather than ice cold, disputes all the ideas about only using cold ingredients. I don't actually know why it works...but it works...and that's all I need to know!
You can fill the tart with anything you'd like from a curd, like I did, to a pastry cream or custard with fresh fruit. I used my lemon curd recipe to fill the tart and then just piped some whipped cream on top.
It's really the flakiest crust I've ever had and it's also the easiest crust I've ever made. So for all you bakers who are still buying a store bought crust because you're too nervous to try making one from scratch...give this one a try. You'll love it!
Begin by placing the butter pieces, oil, water, sugar and salt in a heatproof bowl. ( I used my pyrex bowl.)
Place the bowl into the oven for about 15 minutes, or til the butter begins to brown slightly and bubble.
It should look like this, nice and melted.
Then dump in the flour...
And stir til it becomes a ball.
And that's pretty much it! Now, was that so hard?
Dump the ball onto your tart pan (you might want to let it cool a little bit first), spread out the dough using the heel of your hand. Push it towards the edge and press the edge with your fingers.
Save a little bit of dough, about the size of a marble, to patch any cracks that may occur after baking.
Prick the dough with a fork in about 10 to 12 places.
Bake 15 minutes and use the reserved dough to patch any sizable crack, if you have any.
Fill with your fave filling, then decorate...and dive in!
Lemon Curd French Tart (adapted from here)
Makes one 9" tart or 3 to 4 tartlets( with removable bottom) or 9" pie plate.
Note: My tart pan actually measured 9 1/2" and I think that's why my tart came out on the shallow side. This really wasn't a problem but if you use a pie plate or tart pan with a removable bottom, just know if it's not exactly 9" your tart may come out shallow also. I haven't made this recipe using tartlet pans so I'm not sure if it would make 3 or 4 but I bet they'd be darned cute...and delicious!
Also David says because small cracks in the dough are normal you'd be better to not use a thin custard filling.
3 ozs. unsalted butter, cut into small cubes
1 tbsp. canola oil
3 tbsp. water
1 tbsp. sugar
Pinch of salt
5 ozs. AP flour
Lemon curd recipe
Whipped cream for decorating top
*********************
Preheat oven to 410.
1. In a heatproof bowl ( I used my glass pyrex), place the butter pieces, oil, water, sugar and salt and place into the oven for 15 minutes, or til the butter begins to bubble and brown around the edges. Remove carefully.
2. Dump the flour into the melted butter mixture and stir into a ball with a spatula.
3. Place the ball into your tart or pie pan and, when cooled enough to handle, press the dough with the heel of your hand to spread out to the edges. Use your fingers to press the sides of the dough .
Reserve a small piece of dough, about the size of a marble, to patch any cracks later.
4. Prick the dough all over with a fork, then place back in the oven for 15 minutes, or til the dough gets a nice godlen color.
5. Patch any large cracks with the reserved dough piece.
Let the crust cool completely before filling with your favorite custart and fresh fruit, pastry cream or, like me, most delicious lemon curd!
Showing posts with label pies. Show all posts
Wednesday, August 24, 2011
Sunday, August 7, 2011
Peach Crumble Pie
Peach season is definitely upon us. There were loads of them at the farmer's market yesterday and I grabbed a basket of "seconds" that looked great to me. With all the peach pies I made last summer, I never got around to posting a recipe for a pie ( guess I was just too "peached out" !)
I did make this and this and this was great, too... have to make those again this year.
But this is the first pie I've made this summer so I figured it's a good time to share the recipe.
I love a crumble topping on a fruit pie. It's all about the crunch with me and a crumble top gives a little crunch and a bit more interesting taste. So go grab some peaches and make a pie!
I made my crust the night before and placed it into the pie plate, wrapped well and put in the fridge to chill overnight.
Then just slice up your peaches and mix the other ingredients together and spoon it into your chilled pie shell.
The topping is easy to make.
Just combine the flour, brown sugar, cinnamon, a pinch of salt and butter pieces and mix it together with a fork or your fingers.
Then sprinkle the topping over the peaches...
And bake the pie til it's nice and golden and bubbly.
Peach Crumble Pie
Makes one 9" pie
Filling:
8-10 peaches ( depending on size), peeled and sliced
1 tsp. lemon juice
1/4 cup sugar ( I don't like a very sweet pie but if your peaches aren't very sweet you can increase this amount a little.)
1/4 tsp. cinnamon
1 1/2 tbsp. cornstarch
Crumble topping:
2/3 cup AP flour
4 tbsp. light brown sugar
Pinch of salt
3/4 tsp. cinnamon
4 tbsp. cold butter, cut into very small pieces
Unbaked pie crust for a single crust pie. I use this one every time.
*******************************************
Make the crust ahead of time and place into pie plate. Chill in the fridge, wrapped in plastic wrap, for at least an hour or overnight.
Preheat oven to 450.
1. Prepare crumb topping by combining all the ingredients in a small bowl. Set aside in fridge to chill while preparing the peaches.
2. In a large bowl, combine sliced peaches, lemon juice, sugar, cinnamon and cornstarch. Stir to combine well.
3. Spoon the peaches into the unbaked pie shell, including all the liquid.
4. Sprinkle the crumb topping over the pie and place the pie onto a baking sheet ( just in case any liquid spills over) and bake the pie for 10 minutes on 450.
Then lower the oven temp. to 350 and continue to bake the pie for another 30 to 40 minutes, til it is bubbly and golden in color.
5. Allow the pie to rest at room temperature before cutting into it so the juices can settle.
Grab the vanilla ice cream or whipped cream and dig in!
I did make this and this and this was great, too... have to make those again this year.
But this is the first pie I've made this summer so I figured it's a good time to share the recipe.
I love a crumble topping on a fruit pie. It's all about the crunch with me and a crumble top gives a little crunch and a bit more interesting taste. So go grab some peaches and make a pie!
I made my crust the night before and placed it into the pie plate, wrapped well and put in the fridge to chill overnight.
Then just slice up your peaches and mix the other ingredients together and spoon it into your chilled pie shell.
The topping is easy to make.
Just combine the flour, brown sugar, cinnamon, a pinch of salt and butter pieces and mix it together with a fork or your fingers.
Then sprinkle the topping over the peaches...
And bake the pie til it's nice and golden and bubbly.
Peach Crumble Pie
Makes one 9" pie
Filling:
8-10 peaches ( depending on size), peeled and sliced
1 tsp. lemon juice
1/4 cup sugar ( I don't like a very sweet pie but if your peaches aren't very sweet you can increase this amount a little.)
1/4 tsp. cinnamon
1 1/2 tbsp. cornstarch
Crumble topping:
2/3 cup AP flour
4 tbsp. light brown sugar
Pinch of salt
3/4 tsp. cinnamon
4 tbsp. cold butter, cut into very small pieces
Unbaked pie crust for a single crust pie. I use this one every time.
*******************************************
Make the crust ahead of time and place into pie plate. Chill in the fridge, wrapped in plastic wrap, for at least an hour or overnight.
Preheat oven to 450.
1. Prepare crumb topping by combining all the ingredients in a small bowl. Set aside in fridge to chill while preparing the peaches.
2. In a large bowl, combine sliced peaches, lemon juice, sugar, cinnamon and cornstarch. Stir to combine well.
3. Spoon the peaches into the unbaked pie shell, including all the liquid.
4. Sprinkle the crumb topping over the pie and place the pie onto a baking sheet ( just in case any liquid spills over) and bake the pie for 10 minutes on 450.
Then lower the oven temp. to 350 and continue to bake the pie for another 30 to 40 minutes, til it is bubbly and golden in color.
5. Allow the pie to rest at room temperature before cutting into it so the juices can settle.
Grab the vanilla ice cream or whipped cream and dig in!
Tuesday, July 19, 2011
No Bake Lime Cracker Pie
I'm sure I'm not alone in hating this awful heat. I know everyone else across the country must be as tired of it as I am and staying out of the kitchen, if at all possible, is my goal til things cool down!
So making desserts that don't require turning on the oven can be a challenge...unless ice cream every day works for you! ( Well, okay, ice cream every day does, in fact, work for me but sometimes you want a little bit more!).
So let me just say, I love the seriouseats.com site and I was so excited when they gave "sweets" a separate category. And when I found this no bake "pie" recipe I knew I had to give it a try.
It really is delicious. It's sweet and salty and there are only 4 ingredients. Around here we've been calling it "faux key lime pie". But, hey, whatever name you give it...it's cool, creamy and perfect for dessert on a hot night.
You'll need lime zest for the top so zest them before you squeeze the limes.
Combine the condensed milk and heavy cream in a large bowl.
Add in the lime juice and whisk til thickened.
Spread one cup of the filling on the bottom of the pie plate or casserole dish.
Top with a single layer of crackers, then repeat til all the crackers and filling are used, ending with the filling.
Then sprinkle the top with lime zest and chill at least 2 hours, but overnight is better.
No Bake Lime Cracker Pie, (from seriouseats.com)
(Note: I halved the recipe and used a 7" glass pie dish)
2 (14 oz.) cans sweetened condensed milk
1 pint heavy cream
1/2 cup lime juice plus 1 tbsp. lime zest
10 oz. ( about 2 1/2 sleeves) Ritz crackers*
******************************
You will need a deep dish pie plate or 11" oval casserole.
1. Combine condensed milk and heavy cream in a large bowl.
2. Add lime juice and whisk til thickened, about 1 minute.
3. Spread 1 cup of the filling on the bottom of pie plate or casserole.
4. Top with a single layer of crackers, then repeat, alternating layers of filling and crackers til plate is full.
5. Sprinkle top with lime zest and cover and put into refridgerator for at least 2 hours, but it's best to chill overnight so the crackers fully absorb the custard.
* Next time I make this, I'm going to use graham crackers instead of the Ritz crackers. It may taste even more like key lime pie... what do you think?
Please let me know if you make it and how it turns out for you.
So making desserts that don't require turning on the oven can be a challenge...unless ice cream every day works for you! ( Well, okay, ice cream every day does, in fact, work for me but sometimes you want a little bit more!).
So let me just say, I love the seriouseats.com site and I was so excited when they gave "sweets" a separate category. And when I found this no bake "pie" recipe I knew I had to give it a try.
It really is delicious. It's sweet and salty and there are only 4 ingredients. Around here we've been calling it "faux key lime pie". But, hey, whatever name you give it...it's cool, creamy and perfect for dessert on a hot night.
You'll need lime zest for the top so zest them before you squeeze the limes.
Combine the condensed milk and heavy cream in a large bowl.
Add in the lime juice and whisk til thickened.
Spread one cup of the filling on the bottom of the pie plate or casserole dish.
Top with a single layer of crackers, then repeat til all the crackers and filling are used, ending with the filling.
Then sprinkle the top with lime zest and chill at least 2 hours, but overnight is better.
No Bake Lime Cracker Pie, (from seriouseats.com)
(Note: I halved the recipe and used a 7" glass pie dish)
2 (14 oz.) cans sweetened condensed milk
1 pint heavy cream
1/2 cup lime juice plus 1 tbsp. lime zest
10 oz. ( about 2 1/2 sleeves) Ritz crackers*
******************************
You will need a deep dish pie plate or 11" oval casserole.
1. Combine condensed milk and heavy cream in a large bowl.
2. Add lime juice and whisk til thickened, about 1 minute.
3. Spread 1 cup of the filling on the bottom of pie plate or casserole.
4. Top with a single layer of crackers, then repeat, alternating layers of filling and crackers til plate is full.
5. Sprinkle top with lime zest and cover and put into refridgerator for at least 2 hours, but it's best to chill overnight so the crackers fully absorb the custard.
* Next time I make this, I'm going to use graham crackers instead of the Ritz crackers. It may taste even more like key lime pie... what do you think?
Please let me know if you make it and how it turns out for you.
Monday, March 21, 2011
Apple Almond Galette
This weekend I should have stayed out of the kitchen entirely!I made a chocolate cookie bar and a cake that both turned out to be such a disaster that I had to toss them both..such a waste of time and money.
I guess I should have known better. Most of my weekend was taken up with painting the ceiling in my back porch. As if that's not chore enough. It's such a lousy job to paint a ceiling! But I wanted to get you at least one new recipe this weekend..oh well. Hey, maybe I could blame it on the moon, right? It hasn't been this close to earth in, what, about twenty years, or something like that. Did you see it? It was spectacular...but I digress.
So, needing to make something that was, first, created from what I had in the house this morning and second, something pretty much foolproof, I chose a rustic Apple Galette. Not too difficult to make. Pie crust, chopped apples, spices...and the best part? It's so good!I created this version from about three different recipes. I took a little from here, a little from here and a little from here. And came up with this rustic and delicious galette. I streamlined some of the steps to make it as quick and easy as I could. This is a perfect galette for a weekday dessert and pretty enough for company! Just add a dollop of whipped cream or vanilla ice cream.
First you want to make the crust so it can chill out in the fridge for about 30 minutes.
Once the cold butter pieces are added to the flour, just begin working the butter into the flour til you have small pea size pieces.
Then begin adding in the ice cold water, a tablespoon at a time, mixing lightly with a fork til it begins to come together. Feel it with your fingers to be sure it has enough water but not too much.
Once it comes together, form it into a disc and wrap in plastic and put into the fridge for 30 minutes, at least.
While the dough is chilling, make the apple filling by mixing the sliced and chopped apples with cinnamon, nutmeg and sugar.
Roll out the dough to about a 1/4" thickness and spread the warmed apricot jam onto the center going only to within about 2" from the edge.Then sprinkle the almonds over the jam.
Spread the apple mixture over the almonds, still leaving about 2" aound the edge.
Fold the edges over all around and lightly press the dough into the apples.
Dot the apples with butter and brush a little milk over the edges and sprinkle with raw sugar.
Bake between 50 and 60 minutes.
1 cup AP flour
1/2 tsp. sugar
1/2 tsp. sugar
1/8 tsp. salt
6 tbsp. unsalted butter, cold and cut into 1/2" pieces
3 1/2 tbsp. ice water
Filling:
4 medium apples, such as Granny Smith or McIntosh
1/4 cup sugar
1 tsp. cinnamon
1/4 tsp. freshly grated nutmeg
1/4 cup sliced almonds, toasted
1/4 cup apricot jam
1 tbsp. milk
raw sugar for sprinkling on dough
**************************
1. Make crust by combining the flour, sugar and salt in a large bowl.
2. Add in the butter pieces and work the mixture together with your fingers til it resembles pieces the size of small peas.( Some pieces will be larger than others).
3. Add in the ice water, one tablespoon at a time, mixing lightly with a fork. Feel the dough with your fingers to be sure it's not too dry. Add in just enough water so it forms a ball. You may not need all the water. It depends on the weather and how much humidity there is).
4. Once you form a ball, place the ball of dough onto a piece of plastic wrap and form into a disc shape. Wrap and chill the dough in the fridge for at least 30 minutes.
5. Make the filling while the dough is chilling. Peel, core and slice the apples into thin slices and cut each slice in half.
6. Place the apples in a large bowl and add in the sugar, cinnamon and nutmeg and stir to combine well.
7. Preheat the oven to 400.
8. Warm the apricot jam in a small saucepan just til it begins to melt and become a more spreading consistency. Take off heat and set aside.
9. Roll out the chilled dough between 2 pieces of plastic wrap to about a 1/4' thickness.
10. Place the dough onto a parchment lined baking sheet and spread the apricot jam onto the center, keeping within 2" from the edges.
11. Sprinkle the almonds over the jam, then place the apple mixture on top of the almonds and jam.
12. Fold over the dough edges and press into the apples lightly. Brush the edges with a little milk and with sprinkle raw sugar.
13. Bake for 50 to 60 minutes, or til the crust is a nice golden color and the apples are soft.
14. Lift galette off the baking sheet with the parchment paper and cool on a wire rack.
The galette is best served warm with some vanilla ice cream or whipped cream. Powdered sagar dusted over the top would also be pretty. Enjoy!
Friday, March 11, 2011
Naked Apple Pie
Since yesterday was such a nasty day to go outside, I decided to bake something from what I could find in the house. Everything ingredient that goes into this quick and easy "pie" is pretty much a staple pantry item.Flipping through one of my vintage cookbooks I came upon this recipe...actually the name caught my interest! I does go together very quickly and can be made in no time in basically one bowl. It's a little on the idea of an apple crisp, in that the "pie" doesn't really have a cake-like consistency but softer, more apple pie-like. And the top gets a nice crackly texture that gives a wonderful little crunch.
It's tricky to get out of the pan so I suggest just giving up on the idea of getting a nice looking slice ( I did try to give you a pretty photo!) and just spoon it out! Plop some vanilla ice cream or whipped cream on top of the warm pie ( I had neither but I can only imagine!) and you've got yourself a delicious comforting dessert.
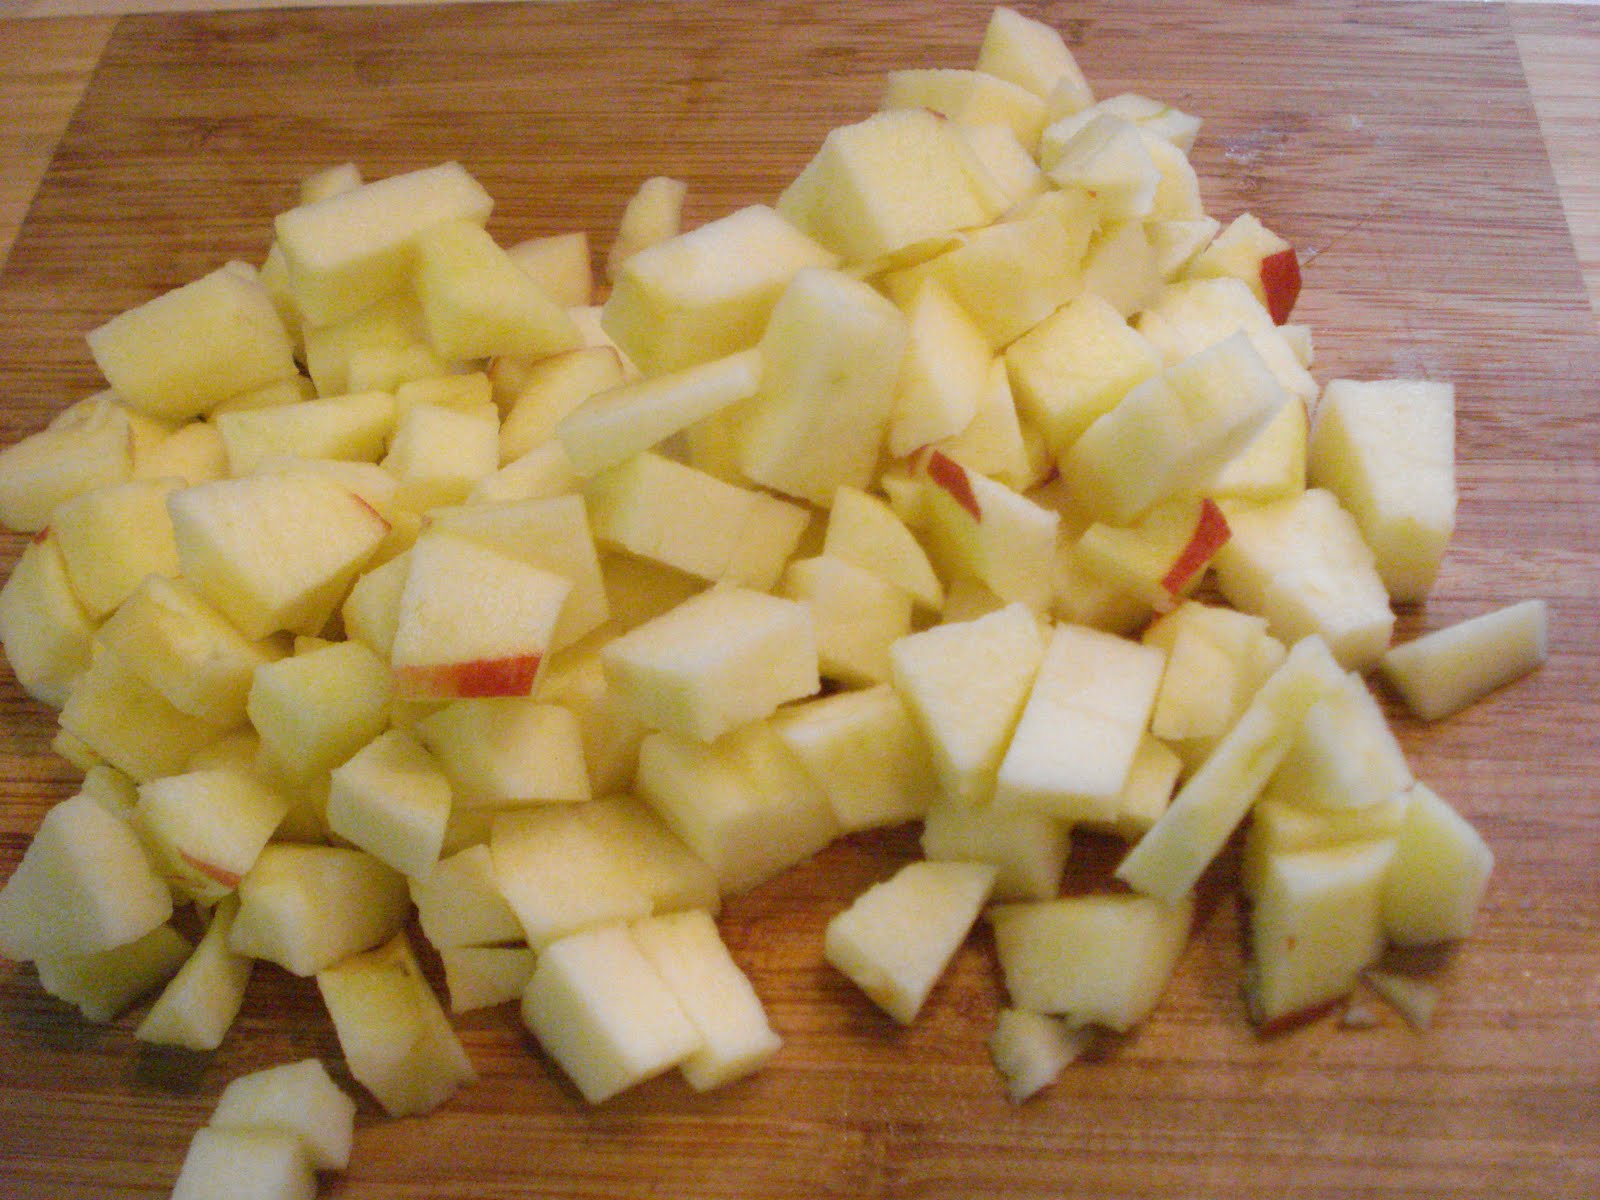
Chop up two apples...
Then beat the egg and add in the sugars, vanilla and cinnamon.1 egg
1/2 cup AP flour
1 tsp. baking powder
Pinch salt
1/4 tsp. cinnamon ( I added this, apples need cinnamon!)
1/2 cup light brown sugar
1/2 cup granulated sugar
1 tsp. vanilla
1/2 cup chopped walnuts ( pecans would also be good)
2 medium apples, peeled and chopped to 1/2" pieces
********************************
Preheat oven to 350. Grease and flour lightly a 9" round pan.
1. Beat the egg in a medium bowl, then add in both sugars, vanilla and cinnamon and stir to combine.
2. Stir in the flour, baking powder and salt, mixing well to combine.
3. Stir in the chopped apples and nuts.
4. Pour the batter into your pan and bake for 30 minutes.
Serve warm or at room temperature.
Monday, December 6, 2010
More Pecan Pies..Pie Pan vs. Pie Plate
Yesterday I conducted a little pie baking experiment. But first let me briefly tell you why.Thanksgiving, I made two pecan pies. One for my family and one for a friend. The one I made for us came out great. I used Pioneer Woman's recipe and ours came out fine. And since it was for us, I used a glass pie plate.
Then I made one for our friend using a disposable aluminum pie pan and his didn't set! This angered me greatly! I mean, hey, I bake for a living..I'm supposed to know better! And pecan pie is like the easiest pie to make!
So yesterday I decided to bake two more pies, one in the glass pie plate and one in the aluminum pie pan to see what happened...and why.
I also chose to try a different recipe so I chose this one.
This pecan pie recipe is quite a bit different from most. It uses way less sugar and a little molasses and flour! The result was a not at all sweet pecan pie which was a little strange ( with all due respect to this blogger) because part of what we've come to expect from pecan pie is the extreme sweetness and when it's not there it's..well..just strange! But wait! This pie was really delicious.
Ok, back to the experiment. The result was that the pie baked in the glass plate was finished much sooner than the other pie. I actually had to leave the one baked in the aluminum pan in the oven about 20 minutes longer because it was just still too jiggly.
So what have we learned from this? Ovenproof glass pans distribute heat better than aluminum disposable pans and result in a shorter baking time. And the crust came out better, too. But you all probably knew all this already! And, yes, this pie went to my friend today. ( Albiet, cut in half!)
Oh yea, one more thing. I figured out a much better way to cover the edge of the crust once it starts to brown too much. Just cut a square of foil and cut an X in the middle. Then cover the pie with the foil...
Then tear the foil open to expose the top of the pie while keeping the edge of the crust covered.See? I don't know about you but I had a dickens of a time keeping that darned foil in place everytime I tried to wrap strips around the crust. It never stayed in place for me!
Wednesday, November 24, 2010
Pecan Pie..and others
What I thought was going to be a relaxing day of pie baking today turned into a rather stressful day. I had a few special orders for pies, one being pecan pie. Now, I love pecan pie, love it so much in fact that I don't dare make it because..well, it could get downright dangerous, having that gooey crunchy nutty flaky goodness anywhere near me! But since I hadn't baked one in a while I thought I'd hone my pecan pie baking skills by baking up a sample one last night.Remembering the latest Throwdown I watched involving Bobby Flay and Pioneer Woman, I chose her pie recipe to make. It did win over Bobby's dessert, after all!
Well, mine turned out great. ( Even though I am embarrased to admit I forgot to add the eggs til after I dumped the whole mess into the pie shell. Ever try to scoop out wet goopy filling? Not pretty!)
And doesn't this always happen? You make something for your family and it comes out great, and then you make the very same thing for someone else and it just gets messed up..or burns..or overbakes..or doesn't ever seem to bake! Well, I think you get the idea.
So that's where the stress came in. The pecan pie I baked today just needed more and more time and still seemed too jiggly..but in the end, all turned out fine. The jiggling stopped as the pie cooled and all was well.
So if you need a last minute pecan pie recipe this one's a great one. But there has to be a better way to cover the crust than with foil that WON"T stay in place!
Happy Thanksgiving!!
One of each Apple Crumb, Pumpkin and Pecan Pies..oh my!Sunday, July 11, 2010
Blueberry Crumb Pie
With fresh blueberries everywhere , including the huge amounts my son Kris and I picked ourselves , I have been busy making blueberry pies for our Saturday Farmer's market.I make the job easier on myself by making the pie doughs and crumb toppings ahead of time. The topping can just go into the fridge in an airtight container. For the pie crusts, pop them into the freezer, already rolled out. Just put them in between sheets of plastic and wrap them well. It is also a good idea to put them on something flat, such as a cookie sheet so they don't break in the freezer. You can also place and form the dough into a tin pie plate and freeze like this, already made and crimped and ready to fill and bake!
Making the crust ahead of time really cuts down on the chore of pie baking, especially if you make more than one..like I do!
The filling recipe for this pie, although I can't honestly remember where it came from, is my favorite. It uses a nice amount of blueberries and isn't too sweet. I really don't like cloyingly sweet fruit pies. I love the flavor of the berries or fruit to come through. And the filling hold together nicely.
And the crumb topping for a fruit pie is also a personal favorite of mine. I just prefer the crunch of the crumb topping, but if you prefer a crust topped pie, hey, just make two crust recipes! Don't, however, just double the recipe because the amounts become different, I noticed in the cookbook.
The crust recipe is from my cookbook " America's Best Lost Recipes".
The crumb topping makes easy work for the top because you don't have to play around with another crust and you get a nice crunch.
It comes out a pretty light brown golden color.
Blueberry Crumb Pie ( adapted from a little here and a little there!)Single crust pie dough: (Makes enough for one 9" pie)
1 1/4 cups AP flour
1 tbsp. sugar
1/2 tsp. salt
3 tbsp. vegetable shortening, chilled
4 tbsp. unsalted butter, cut into 1/4" pcs. and chilled
3 -4 tbsp. ice water
1. Process the flour, sugar and salt in a food processor.
2. Scatter the shortening over the top and process til mixture is texture of coarse sand.
3. Scatter butter pieces over the top and process til mixture resemble coarse crumbs.
4. Sprinkle 3 tbsp. of ice water over the mixture. Stir and press the dough together, using a stiff rubber spatula, until the dough sticks together. ( If the dough does not come together, stir in a little more water, 1/2 tablespoon at a time. But test the dough by gently squeezing some in your hand. If it holds together then don't add more water. A little drier is better than too wet.)
5. Form the dough into a 4" disc and wrap in plastic and refridgerate for at least 1 hour.( Dough can be refridgerated, wrapped tightly in plastic, for up to 2 days, or frozen for up to 2 months.)
6. Let the dough soften to room temp. slightly before rolling into a 12" circle.( I always roll between 2 sheets of plastic wrap.) Then gently place dough into your pie plate and trim away any excess along the edges to within 1/2" of pie plate. Tuck dough underneath itself to form a rim. Crimp the edge.
7. Place back into the fridge til your filling is made. ( Or you can freeze the dough at this point, too, for later use. Just wrap well)
Filling:
scant 1/2 cup granulated sugar
1/4 cup AP flour
4 cups fresh blueberries
1/2 tsp. lemon zest
1 tbsp. fresh lemon juice
2 tbsp. butter ( I omit this for the crumb topped pies)
1. Combine all the ingredients into a large mixing bowl and gently stir.
Crumb topping:
7 tbsp. unsalted butter, slightly softened and cut into small pieces
1/2 cup sugar
1/2 tsp. cinnamon
1/4 tsp. baking powder
1/4 tsp. salt
1 1/8 cup AP flour
1. Place sugar, cinnamon, baking powder and salt in the bowl. Mix to combine.
2. Add the butter and work in with your fingers or a fork.
3. Add the flour, a half amount at a time, working in with a fork. then using your fingers.
4. Once all the flour is worked in, make clumps of the dough, then break clumps apart slightly.
5. Set crumb mixture aside or refridgerate til you're ready to use.
To assemble pie:
1. Take pie crust out of fridge or freezer and fill with the blueberry filling, spreading it out evenly.
2. Sprinkle the crumb topping over the filling, pressing very gently onto the berries. Don't worry if it doesn't cover all the berries. Once the pie is baked, it looks pretty to see some berries coming through on top!
3. Bake at 375 for approx. 45 minutes or til berries are bubbling and the crust is a nice golden brown.
Let the pie cool completely. If you cut into it too soon, the filling won't set properly and it may run.
Subscribe to:
Posts (Atom)