Wednesday, July 14, 2010

Ginger Lemon Sandwich Cookies

The recipe for this cookie from Martha Stewart combines the wonderful flavors of ginger and lemon. The cookie came out soft and, had I read the reviewers comments, I would have noticed that the baking time was incorrect! It should have been baked for 14 minutes total. After the first 7 minutes, the cookies are supposed to come out of the oven, get a sprinkling of sugar and go back into the oven for another 7 minutes.
So, as I said, I didn't read that part so I had a bunch of soft, but still delicious, lemony, gingery cookies on my hands. What to do with them? Make them into sandwich cookies!
They actually came out great like this so if you want crunchy cookies, bake them 14 minutes. If you want soft cookies to make sandwich cookies out of them ( I'll give you the filling recipe below) bake them 7 minutes!

Chop the crystallized ginger and zest 1 tablespoon of lemon zest and set aside.

Beat the butter and sugar 5 minutes.
Add the egg and beat to combine.
Add the lemon zest and mix.
In a small mixing bowl, mix the dry ingredients along with the chopped ginger.
Then add it to the butter mixture.

Drop 2 teaspoonfuls of dough onto a baking sheet.
Bake 7 minutes, take out of the oven and sprinkle tops with sugar and bake for another 7 minutes.
Ginger Lemon Sandwich Cookies ( from Martha Stewart)
Makes 3 dozen

1 stick unsalted butter, softened
3/4 cup plus 2 tbsp. sugar
1 large egg
1 tbsp. lemon zest
1 1/3 cup AP flour
1/2 tsp. ground ginger
1/2 tsp. baking soda
1/4 tsp. salt
1/4 cup crystallized ginger, finely diced
Preheat oven to 350. Line a baking sheet with parchment paper.
1. In mixing bowl with paddle attachment, mix butter and 3/4 cup sugar til light and fluffy, about 5 minutes, scraping sides of bowl well.
2. Add egg, mixing on high to combine.
3. Mix in lemon zest.
4. In a medium bowl, combine the dry ingredients and crystallized ginger.
5. Add the dry to the butter mixture and mix on low speed to combine.
6. Drop 2 teaspoonfuls of dough onto the baking sheet spacing 2" apart.
7. Bake for 7 minutes, then take out of the oven and sprinkle tops of cookies with the remaining 2 tablespoons of sugar.
8. Place cookies back in the oven for another 7 minutes.
9. Cool on wire rack.

Lemon Filling for Sandwich Cookies

6 tbsp. unsalted butter, softened
3 cups powdered sugar
zest of half of a lemon
enough lemon juice to make spreadable (but still slightly thick.)
1. Work the softened butter and the powdered sugar to combine a little.
2. Add the lemon zest and lemon juice and stir to make spreadable but still slightly thick.


Sunday, July 11, 2010

Blueberry Crumb Pie

With fresh blueberries everywhere , including the huge amounts my son Kris and I picked ourselves , I have been busy making blueberry pies for our Saturday Farmer's market.
I make the job easier on myself by making the pie doughs and crumb toppings ahead of time. The topping can just go into the fridge in an airtight container. For the pie crusts, pop them into the freezer, already rolled out. Just put them in between sheets of plastic and wrap them well. It is also a good idea to put them on something flat, such as a cookie sheet so they don't break in the freezer. You can also place and form the dough into a tin pie plate and freeze like this, already made and crimped and ready to fill and bake!
Making the crust ahead of time really cuts down on the chore of pie baking, especially if you make more than one..like I do!
The filling recipe for this pie, although I can't honestly remember where it came from, is my favorite. It uses a nice amount of blueberries and isn't too sweet. I really don't like cloyingly sweet fruit pies. I love the flavor of the berries or fruit to come through. And the filling hold together nicely.

And the crumb topping for a fruit pie is also a personal favorite of mine. I just prefer the crunch of the crumb topping, but if you prefer a crust topped pie, hey, just make two crust recipes! Don't, however, just double the recipe because the amounts become different, I noticed in the cookbook.
The crust recipe is from my cookbook " America's Best Lost Recipes".
The crumb topping makes easy work for the top because you don't have to play around with another crust and you get a nice crunch.

It comes out a pretty light brown golden color.


Blueberry Crumb Pie ( adapted from a little here and a little there!)


Single crust pie dough: (Makes enough for one 9" pie)

1 1/4 cups AP flour
1 tbsp. sugar
1/2 tsp. salt
3 tbsp. vegetable shortening, chilled
4 tbsp. unsalted butter, cut into 1/4" pcs. and chilled
3 -4 tbsp. ice water
1. Process the flour, sugar and salt in a food processor.
2. Scatter the shortening over the top and process til mixture is texture of coarse sand.
3. Scatter butter pieces over the top and process til mixture resemble coarse crumbs.
4. Sprinkle 3 tbsp. of ice water over the mixture. Stir and press the dough together, using a stiff rubber spatula, until the dough sticks together. ( If the dough does not come together, stir in a little more water, 1/2 tablespoon at a time. But test the dough by gently squeezing some in your hand. If it holds together then don't add more water. A little drier is better than too wet.)
5. Form the dough into a 4" disc and wrap in plastic and refridgerate for at least 1 hour.( Dough can be refridgerated, wrapped tightly in plastic, for up to 2 days, or frozen for up to 2 months.)
6. Let the dough soften to room temp. slightly before rolling into a 12" circle.( I always roll between 2 sheets of plastic wrap.) Then gently place dough into your pie plate and trim away any excess along the edges to within 1/2" of pie plate. Tuck dough underneath itself to form a rim. Crimp the edge.
7. Place back into the fridge til your filling is made. ( Or you can freeze the dough at this point, too, for later use. Just wrap well)
Filling:
scant 1/2 cup granulated sugar
1/4 cup AP flour
4 cups fresh blueberries
1/2 tsp. lemon zest
1 tbsp. fresh lemon juice
2 tbsp. butter ( I omit this for the crumb topped pies)
1. Combine all the ingredients into a large mixing bowl and gently stir.
Crumb topping:
7 tbsp. unsalted butter, slightly softened and cut into small pieces
1/2 cup sugar
1/2 tsp. cinnamon
1/4 tsp. baking powder
1/4 tsp. salt
1 1/8 cup AP flour
1. Place sugar, cinnamon, baking powder and salt in the bowl. Mix to combine.
2. Add the butter and work in with your fingers or a fork.
3. Add the flour, a half amount at a time, working in with a fork. then using your fingers.
4. Once all the flour is worked in, make clumps of the dough, then break clumps apart slightly.
5. Set crumb mixture aside or refridgerate til you're ready to use.
To assemble pie:
1. Take pie crust out of fridge or freezer and fill with the blueberry filling, spreading it out evenly.
2. Sprinkle the crumb topping over the filling, pressing very gently onto the berries. Don't worry if it doesn't cover all the berries. Once the pie is baked, it looks pretty to see some berries coming through on top!
3. Bake at 375 for approx. 45 minutes or til berries are bubbling and the crust is a nice golden brown.
Let the pie cool completely. If you cut into it too soon, the filling won't set properly and it may run.

Thursday, July 8, 2010

Lemon Granita

With temperatures topping 100 degrees here, it's challenging to be in the kitchen baking with no air conditioning! So, I decided to make a cool refreshing dessert that didn't require turning on the oven.
This lemon granita is so easy to make, with only 3 ingredients, lemon, sugar and bottled water. The wait time is the longest and hardest part! But it's worth it! If you live in an area that sells Rita's Water Ice, then this is very close to their lemon water ice. It has a slight tartness from the lemons and it's not too sweet.
The best part is when it gets slightly melted and slushy at the bottom of the glass..so good!

I changed the recipe slightly. I zested 2 whole lemons, rather than removing the zest with peelers. Then I added the zest in the granita, however, I would suggest you don't do this. The zest actually winds up giving the granita a slightly bitter aftertaste. So in this case I say..do as the original recipe says, not as I did!

Begin by removing the zest in long pieces with a vegetable peeler.
Squeeze 1/2 cup of juice from the lemons.
See...I made lots of zest..don't do this! Peel the zest off, instead.

Place the water and sugar in a small heavy saucepan and heat, stirring, til the sugar is dissolved.
Stir in the peeled zest, then transfer to a bowl to cool.
Chill til cold, then discard peeled zest and stir in juice.


Pour into a metal pan and place in the freezer for 30 minutes.


Take out of the freezer and rake a fork over the mixture, especially along the sides.
Place back in the freezer for another 30 minutes.


After the last 30 minutes, rake the fork over the granita and break up any clumps.
Then it can go back in the freezer til you're ready to eat it.
Put it in a pretty glass...it tastes even better that way!
Lemon Granita ( from Epicurious)

2 to 3 large lemons
1 cup filtered or bottled still water ( not distilled)
1/3 cup superfine granulater sugar ( I didn't have this so I placed in the food processor a few pulses to get it superfine)
1. With a vegetable peeler, remove lemon zest in long pieces from 2 lemons.
2. Squeeze 1/2 cup juice from lemons.
3. In a small heavy saucepan, heat water and sugar, stirring until sugar is dissolved.
4. Stir in zest, then transfer to a bowl to cool.
5. Chill syrup, covered, until cold.
6. Discard zest, then stir in lemon juice.
7. Then pour into a metal pan and place in freezer for 30 minutes.
8. Take out and stir and rake fork across the mixture, especially along the sides. Refer to the photos above.
9. Place back in freezer for another 30 minutes, then repeat the stirring and raking, then place back in freezer til ready to eat.
10. Scoop up granita and place in a pretty glass and cool down!!


Wednesday, July 7, 2010

Pomegranate Molasses Butter Cake

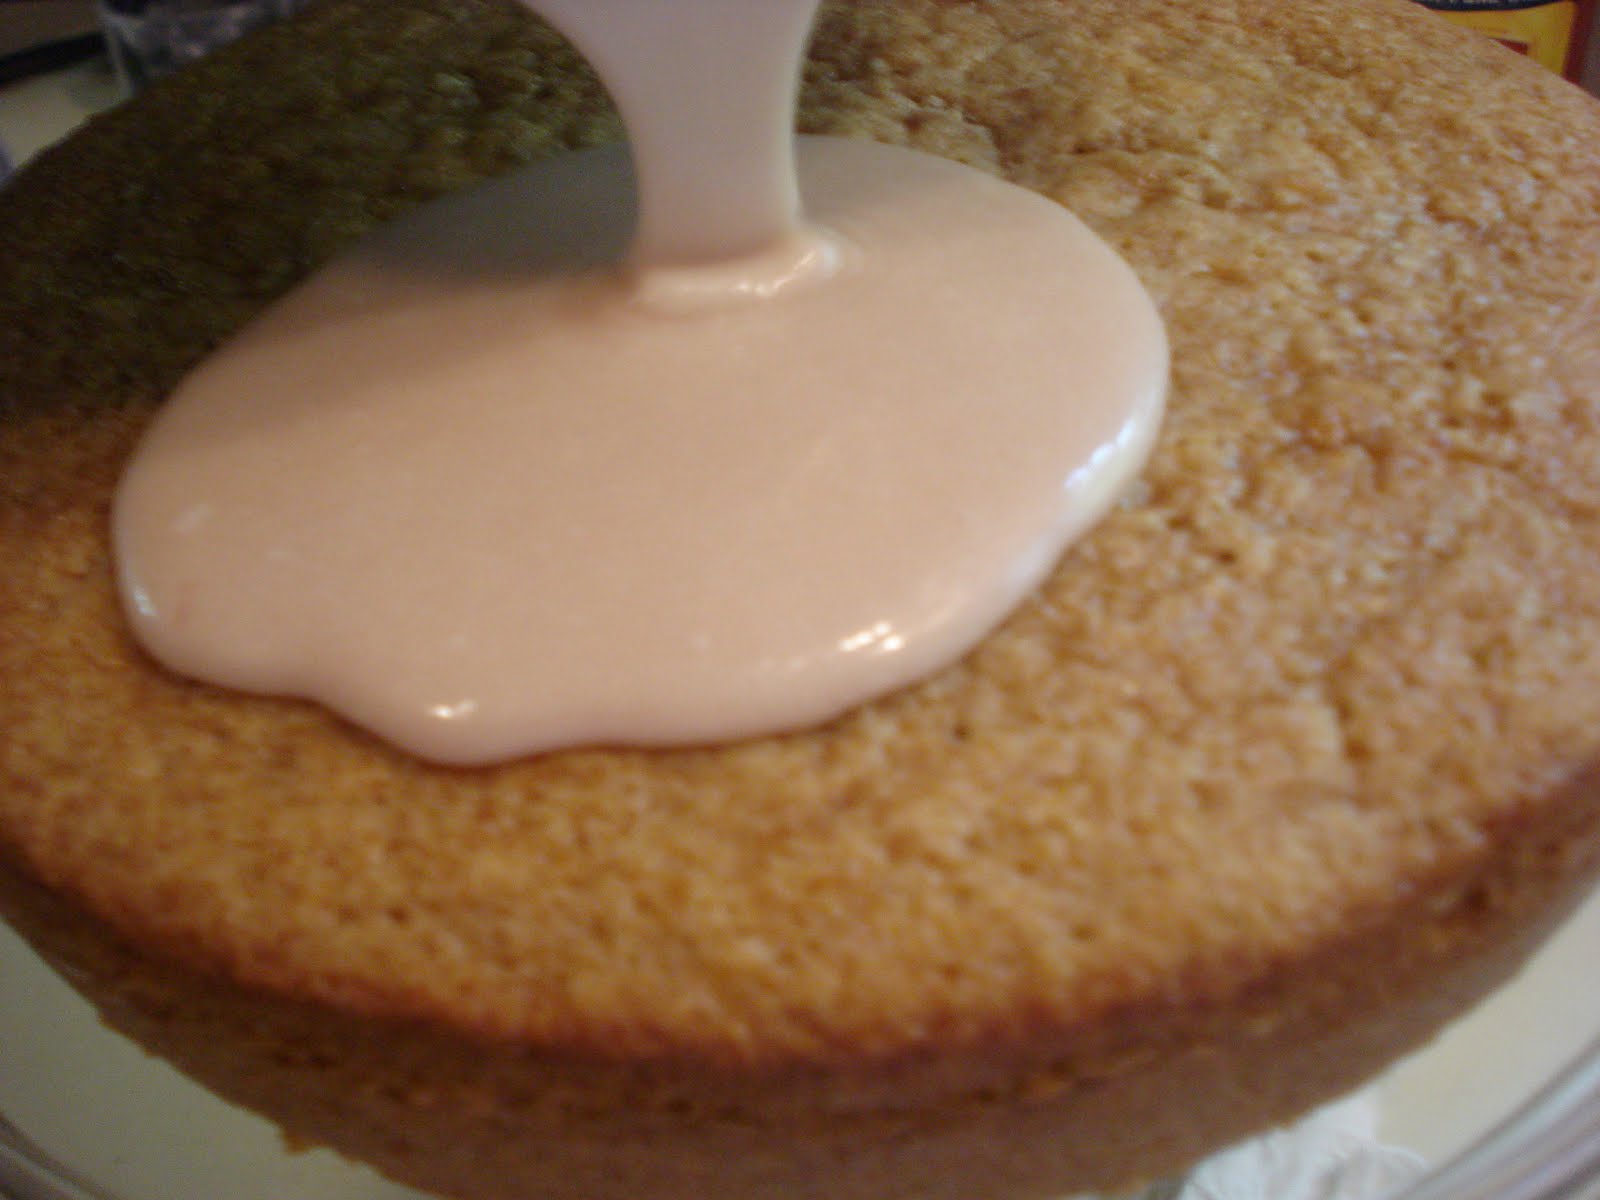
I recently became aware of pomegranate molasses and decided to try making my own today. It seemed simple enough, just simmer the juice with some sugar and a little lemon juice and in about half an hour you have molasses. Although I've never really been a fan of pomegrante juice, I liked the idea of using the molasses in a dessert..and it's such a pretty color! ( My camera doesn't show the pretty light pink color of the glaze very well..but it's there).
So once I made the molasses, I went in search of a cake recipe and found this one from the New York Times.
It sounded easy enough and I had just enough molasses to make the cake. You get three "hits" of the molasses, once in the cake, again in the glaze and then mixed with the nuts that are sprinkled on top of the cake. Yet with all that, the pomegranate flavor is still very subtle.
The cake turned out great, though. It's moist, not too sweet and the nuts on top give it a wonderful crunch.
So to make the molasses, just place 1 cup pomegranate juice in a small saucepan with a squeeze of lemon juice and 1 1/2 tablespoons of sugar and let it simmer til it becomes thicker and coats the back of a spoon.
Stir the mixture occasionally and be sure to lower the heat as it simmers but keep an eye on it.
Then pour it into a small bowl. Set it aside to cool down.


To begin the cake, mix the milk with 2 tablespoons of the molasses and set it aside.

Cream the butter and sugar in a mixer bowl til light and fluffy.
Then add the eggs, then the flour mixture in 3 batches alternating with the milk/molasses mixture.
Pour the batter into a prepared cake pan and bake.

I used a round pan, rather than the square pan originally called for in the recipe.


Once the cake has baked and cooled, place the nuts in a small saucepan with the sugar and 1 tablespoon of the molasses and cook on low heat til the sugar has dissolved.

Also make the glaze at this time by combining powdered sugar and light cream with 1 tablespoon of the molasses.


Once the cake has cooled, put it on a pretty plate and pour the glaze on top, allowing it to drip down the sides. ( I only used half the glaze amount.)
Then sprinkle on the nut mixture. That's it!
Pomegranate Molasses Butter Cake ( from the New York Times, March 2010)
1 stick unsalted butter, softened
1 1/2 cups AP flour
1 1/2 tsp. baking powder
1/2 tsp. salt
1/2 cup milk
2 tbsp. pomegranate molasses ( recipe follows)
3/4 cup sugar
3 large eggs
Glaze:
1 cup confectioners sugar
6 tbsp. light cream ( I used 3 tbsp. heavy cream and 3 tbsp. half & half)
1 tbsp. pomegranate molasses
Topping:
3/4 cup roughly chopped walnuts or pecans ( I used pecans)
1 tsp. pomegranate molasses
4 tsp. sugar
Preheat oven to 350. Butter, then lightly flour a 9" square cake pan ( I used a round cake pan).

1. Sift the flour, baking powder and salt in a small mixing bowl.
2. In a small bowl, combine the milk and 2 tbsp. of molasses.
3. In a large bowl, cream the butter and sugar til light and fluffy.
4. Add the eggs, one at a time, beating well after each addition.
5. Add the flour mixture in 3 batches, alternating with the milk/molasses mixture, beginning and ending with the flour.
6. Pour the batter into the cake pan and bake 35 to 40 minutes. ( Mine took 30 minutes).
7. Let the cake cool in the pan for about 10 minutes, then turn it out onto a wire rack to cool.
8. Make the glaze by whisking the confectioners sugar, cream and 1 tbsp. pomegranate molasses.
9. Pour and smooth out the glaze on top of the cake.
10. Make the topping by mixing in a small saucepan, the walnuts or pecans, 1 tbsp. pomegranate molasses and 4 tsp. sugar and cook over low heat about a minute til the sugar dissolves.
11. Sprinkle the nut mixture on top of the glaze.


Pomegranate molasses ( makes enough for this cake):

Place 1 cup pomegranate juice, 1 1/2 tbsp. sugar and 1 tsp. fresh lemon juice in a small saucepan.
Simmer the mixture, stirring occasionally, for about 30 minutes, or til it thickens enough to coat the back of a spoon and has been reduced by more than half. Pour into a small dish to cool.
(Yields approx. 1/3 cup molasses)


Tuesday, July 6, 2010

Toasted Almond Biscotti


I know..biscotti, again?! Well this recipe interested me because of the way it's made. I've never made biscotti this way so, of course, I had to give it a try!
I found the recipe and technique for making it on this site. The biscotti recipe this lady shows is among the different flavors she sells. I noticed some of her biscotti have butter in the ingredients and some don't. This particular one doesn't.
The only change I made was the almonds. The original recipe calls for whole unsalted raw almonds and I only had sliced and toasted and it worked just fine. I liked the addition of the lemon zest also.
It is a hard biscotti though so I sliced mine thinner than it's usually sliced. I find if a biscotti is going to be on the hard side, it's just easier to bite if it's thinner!
The biscotti had a really nice flavor with the lemon zest and almonds. And I liked the addition of brushing the top with milk and sprinkling it with sugar. Gave it a little sparkle!
So begin by beating the eggs and egg yolks with the sugar in your mixer bowl.
Add the vanilla, baking soda, salt and lemon zest and beat about a minute more.

Add the flour slowly. I halved the recipe and used the full amount of flour, ( 2 1/4 cups for half the recipe)


Then add the almonds and stir to incorporate it.

Now here's the different part... place th dough onto a well floured surface and scoop it up and over with a scraper...


Then roll it out into a large log.
Then cut the log into 6 pieces.


Since I halved the recipe, I cut mine into 3 pieces.


Then roll each piece into a log.
Brush each log with a little whole milk...
And sprinkle the top with sugar ( I used raw sugar).

They do just about double in volume once baked.


Once they come out of the oven, place them on a cutting board and slice them on the diagonal about 1/2" to 3/4" thickness.

Then turn down the oven temp. to 300 and put them back into the oven, 5 minutes each side.


Toasted Almond Biscotti ( adapted from Danielle Di Vecchio's recipe)


4 whole large eggs
2 large egg yolks
2 cups sugar
2 tsp. vanilla
2 tsp. baking soda
2 tsp. salt
2 tsp. lemon zest
4 - 4 1/2 cups AP flour
1 cup crushed unsalted raw almonds ( I used sliced)
Preheat oven to 350. Line baking sheet with parchment paper.
1. In a mixing bowl, beat the eggs, egg yolks and sugar for about a minute.
2. Add in the vanilla, baking soda, salt and lemon zest and beat another minute.
3. Add in the flour slowly starting with the 4 cups and add more, up to another 1/2 cup, if needed. ( I used the full amount).
4. Add in the crushed almonds and mix til all incorporated.
5. Place the dough onto a floured work surface and knead a minute with a bench scraper.
6. Roll dough into a large log, then using the scraper, cut into 6 pieces.
7. Roll each piece into a log and place the logs onto your baking sheet, leaving about 3" for spreading.
8. Brush milk on top of each, then sprinkle with coarse sugar ( I used raw sugar).
9. Bake for 20 to 25 minutes, or til slightly browned and firm to the touch.
10. Lower oven temp. to 300 and place the logs onto a cutting board and slice each log on the diagonal about 1/2" to 3/4" thickness.
11. Place each slice onto baking sheets and bake again, 5 minutes on each side.
Cool slices on wire rack, then place into tins. I'm sure these will keep for weeks, as long as you keep them in cookie tins. I always find the tupperware or rubbermaid containers make the biscotti soft but cookie tins are more air tight!


Friday, July 2, 2010

Peanut Butter White Chocolate Blondies

I came across this recipe last night and although I have a great blondie recipe I make quite often, I thought it would be fun to try something different.
The recipe comes from Rachel Allen. She has a show, apparently, on the Cooking Channel called "Bake!" I'd never heard of her before I stumbled upon this blondie recipe but I checked out some of her other recipes and they sound worth trying, too..another time!

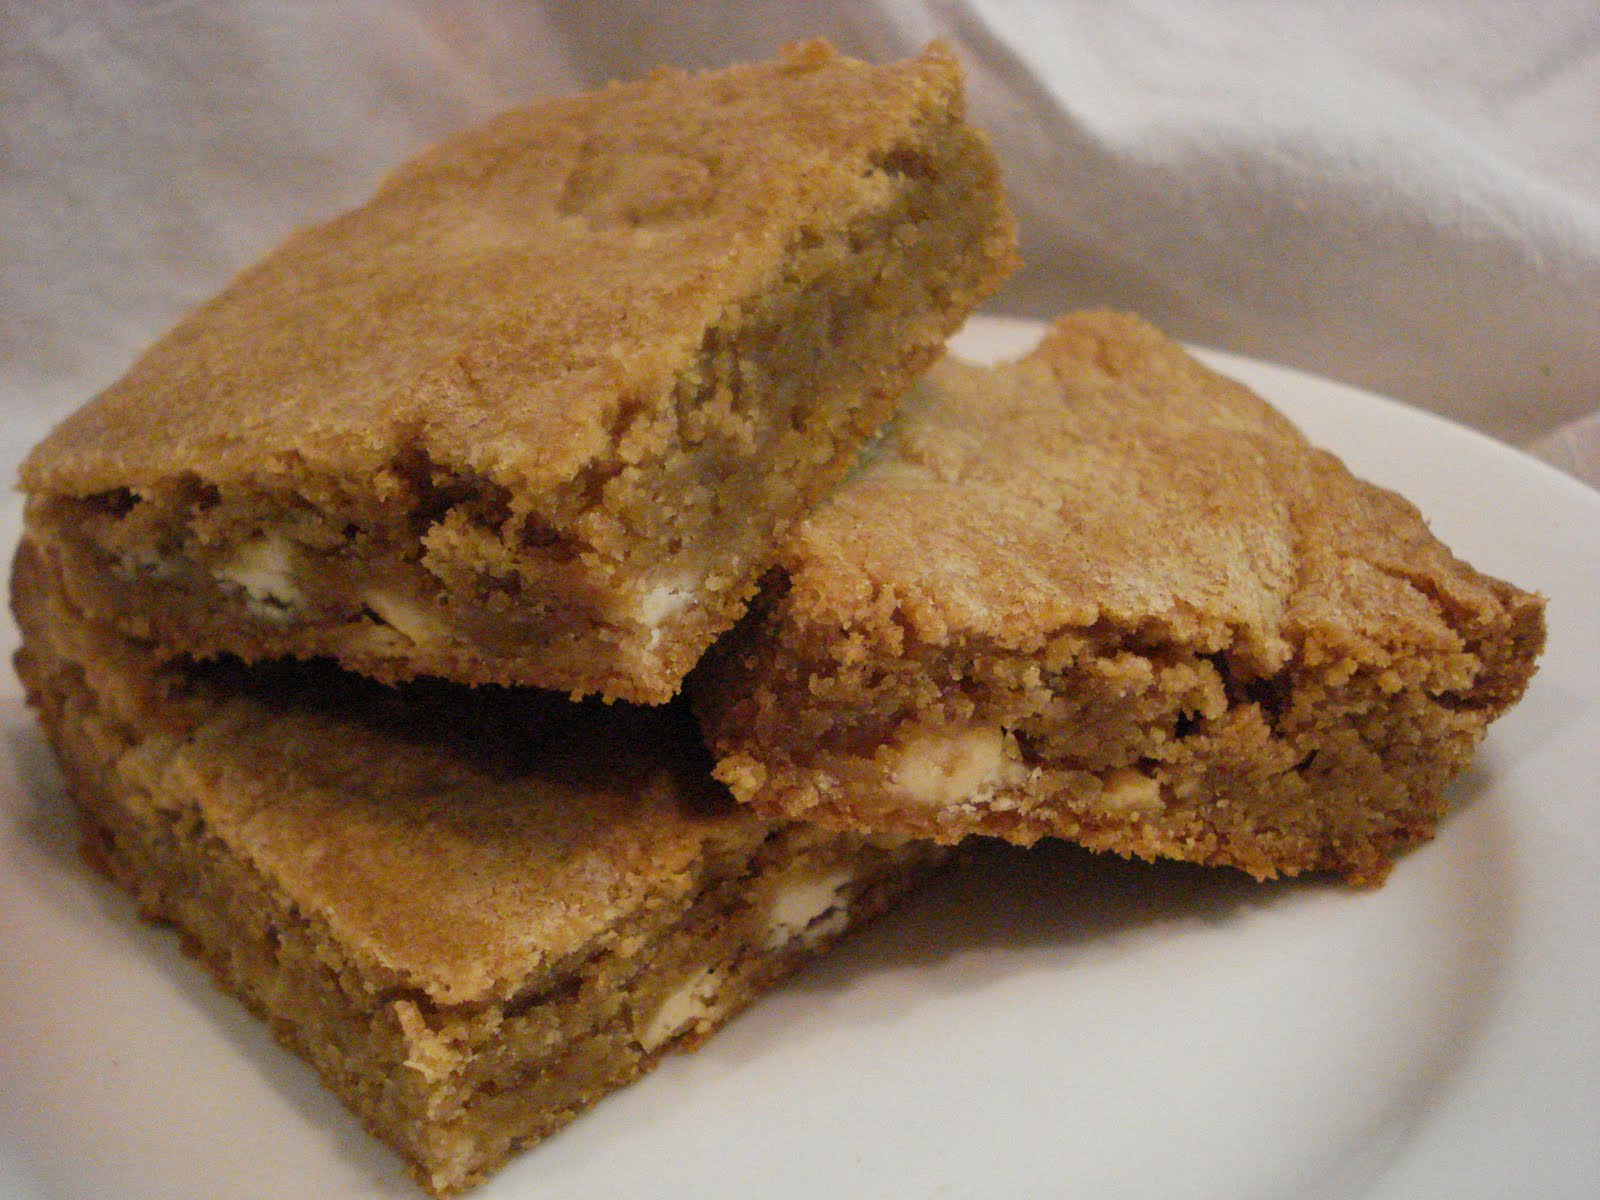
This blondie has chopped white chocolate in it but I made mine with white chocolate chips because I didn't want to waste my good white chocolate if the recipe didn't turn out well. That makes sense, right!? After I had put it all together, I got to thinking that dark chocolate with the peanut butter may have been a better choice so next time I make it, I'll replace the white chocolate with semisweet chocolate.
The blondie is really very good. It's nice and moist and the peanut butter taste isn't too overwhelming. I only had dark brown sugar, rather than light brown, but I don't think it made much of a difference.

It goes together in only a few steps so it's a quick and easy recipe, too!
Just spread it out into an 8" x 8" pan lined with parchment paper.

And bake for about 25 to 30 minutes or til a toothpick comes out clean.
Let it cool in the pan about an hour, then lift it out...


And cut into sizes you'd like.


Peanut Butter White Chocolate Blondie ( adapted from Rachel Allen)
7 tbsp. unsalted butter, room temp.
4 1/2 oz. AP flour
1 tsp. baking powder
5 oz. crunchy peanut butter ( I didn't have this so I used creamy)
3/4 cup light brown sugar
1 egg, beaten
1 tsp. vanilla
3 oz. white chocolate , chopped

Preheat oven to 325. Line an 8" x 8" pan with parchment paper.
1. Beat butter and peanut butter til light and creamy.
2. Add vanilla.
3. Add sugar and egg and beat til light and creamy.
4. Stir in chopped white chocolate.
5. Sift in flour and baking powder.
6. Pour into prepared pan and spread evenly.
7. Bake 25 - 30 minutes or til a toothpick inserted into the center comes out clean.
8. Allow blondies to cool in the pan at least an hour, then lift out and cut into squares or rectangles.


Thursday, July 1, 2010

Marble Pound Cake

This is my second attempt at making a marble pound cake. I made one ( another recipe that shall remain nameless!) a few weeks ago and I had to throw it all in the trash. It was way too dry, although toasted with some good ice cream would have most likely moistened it up and saved it from the trash!
So I tried again today. This recipe is from Dorie Greenspan and since I trust her recipes, I figured it would turn out well..and it did!
The cake, made with bittersweet chocolate, had a firm texture but it wasn't dry.

So, let's get to the cake!

Begin by melting the chocolate in a double boiler over low heat til melted. Set aside to cool.
Whisk the dry ingredients.
Beat the butter and sugar til pale and fluffy, about 5 minutes.
Scrape down the bowl and add the eggs, one at a time, beating 1 to 2 minutes after each egg is added.
Mix in the vanilla.
With mixer on low, add the flour mixture, only til barely incorporated.

Transfer half the batter to another bowl and stir in the melted and cooled chocolate.


Pour the light and dark batter alternately into the loaf pan..or pans in my case. Swirl the batter with a knife.
Bake til knife comes out clean.
Marble Pound Cake ( from Dorie Greenspan recipe)
2 cups AP flour
1 tsp. baking powder
1/4 tsp. salt
2 sticks unsalted butter, room temp.
1 cup sugar
4 large eggs, room temp.
1 tsp. vanilla
4 oz. bittersweet chocolate, chopped ( 60% cocoa)
Preheat oven to 325. Butter a 9' x 5' loaf pan or 3 smaller loaf pans for mini loaves. ( I also lightly floured the pans).


1. Melt chocolate using the double boiler method, over low simmering water. Set aside.
2. Whisk the flour, baking powder and salt. Set aside.
3. Beat the butter and sugar til pale and fluffy, about 5 minutes.
4. Scrape down the bowl and add the eggs, one at a time, beating 1 to 2 minutes after each egg is added.
5. Mix in vanilla.
6. With mixer on low speed, add in the flour mixture, mixing only til just incorporated. You can even mix the last of the flour with a rubber spatula to avoid overbeating.
7. Transfer half the batter to another bowl and stir in the melted chocolate to this batter.
8. Spoon the batter into your pan or pans alternately, light and dark. Swirl with a knife.
9. Bake 70 minutes, checking doneness with a knife inserted to come out clean. If cake is becoming too brown on top, loosely tent with some foil.
10. Cool in pan about 30 minutes, then pop out of pan and cool completely on wire rack.
** Cake will keep 5 to 7 days at room temp., well wrapped**

LinkWithin

Related Posts with Thumbnails